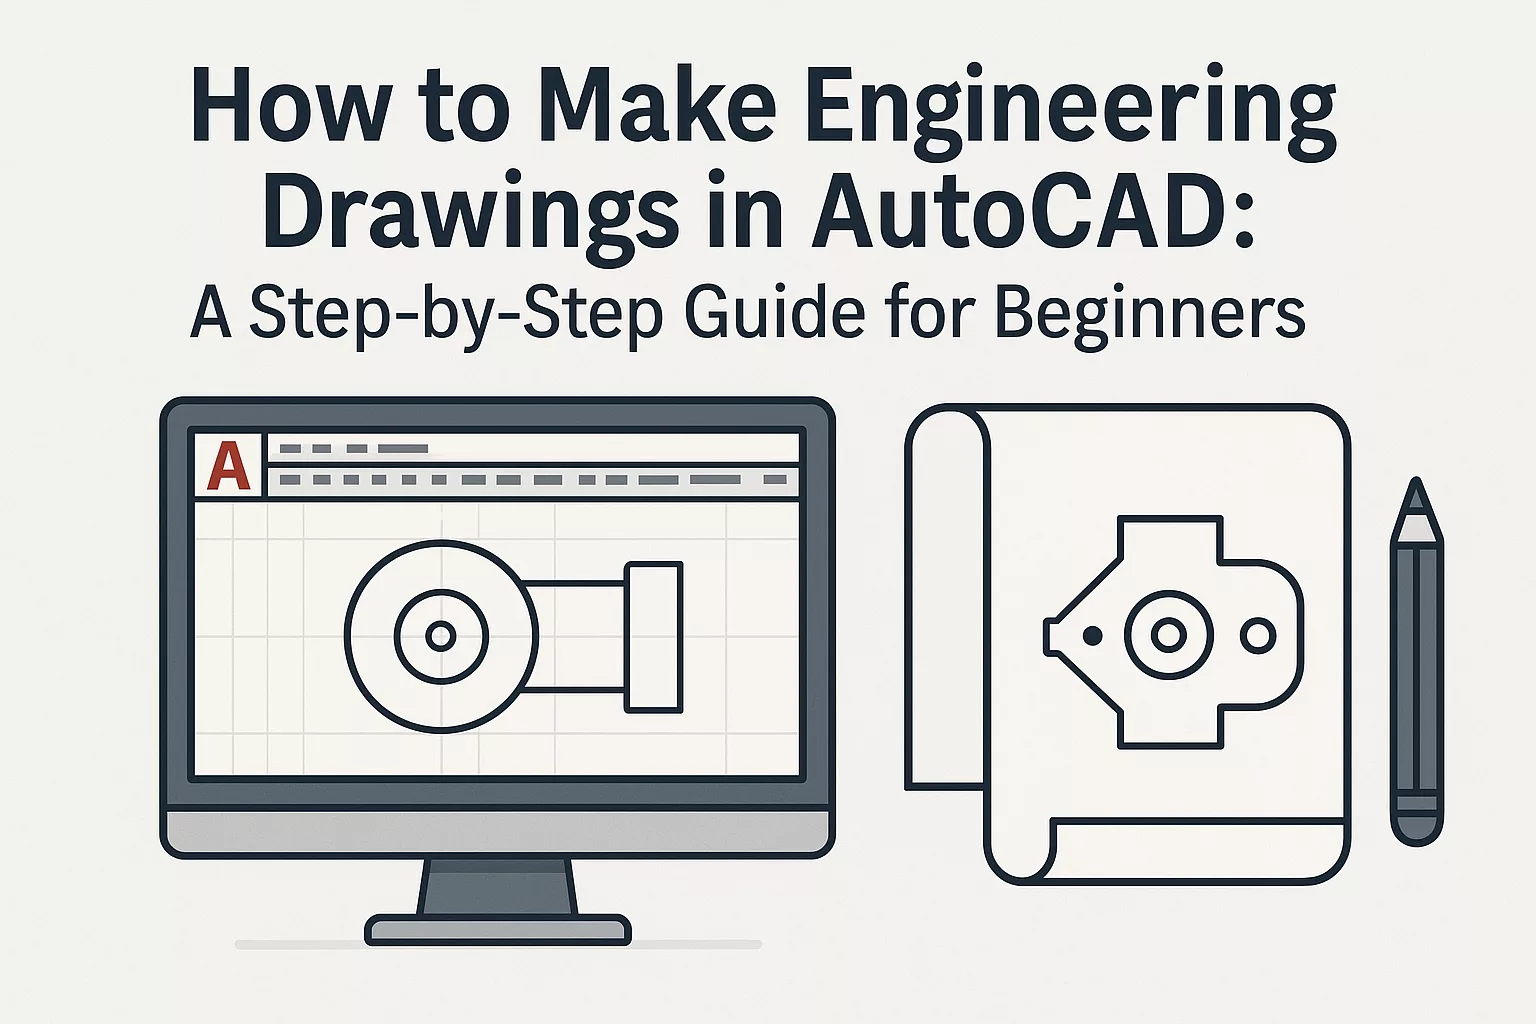
Creating precise and professional engineering drawings in AutoCAD is a fundamental skill for engineers, architects, and designers. AutoCAD has become the industry standard software for technical drafting, allowing professionals to transform concepts into detailed 2D and 3D drawings. Whether you’re a beginner or someone looking to refine your drafting skills, learning how to prepare engineering drawings in AutoCAD step by step will give you a strong foundation.
In this guide, we’ll cover the process of creating engineering drawings in AutoCAD, along with essential tips to help you get started.
What Are Engineering Drawings in AutoCAD?
Engineering drawings are technical representations that communicate design ideas clearly and accurately. These drawings serve as blueprints for manufacturing, construction, or product development. AutoCAD simplifies this process by offering tools for precision, scaling, annotations, and dimensioning, ensuring that the drawings meet industry standards.
With AutoCAD, beginners can create mechanical parts, architectural floor plans, structural layouts, and electrical schematics with ease.
Step-by-Step Guide: How to Create Engineering Drawings in AutoCAD
Step 1: Launch AutoCAD and Set Up the Workspace
- Open AutoCAD and select a new drawing file.
- Configure the drawing units (millimeters, centimeters, or inches) using the UNITS command.
- Set up the drawing limits with the LIMITS command to define your workspace.
This ensures that your engineering drawing is created with the right scale and measurement system from the beginning.
Step 2: Create Layers
Layers help organize different components of your drawing. For example, walls, dimensions, annotations, and centerlines can each have separate layers.
- Use the LAYER command to create and manage layers.
- Assign colors and line types for better readability.
Organized layers make your drawing professional and easy to interpret.
Step 3: Start with Basic Geometry
- Use commands like LINE, CIRCLE, RECTANGLE, and POLYGON to create the basic shapes.
- Snap and grid settings ensure accuracy by locking points to intersections or midpoints.
- The OSNAP feature is particularly useful for precision.
This step forms the skeleton of your engineering drawing.
Step 4: Add Dimensions and Annotations
Dimensions are critical in engineering drawings. They define sizes, distances, and tolerances.
- Use the DIMLINEAR, DIMANGULAR, and DIMALIGNED commands for different types of dimensions.
- Add text using the TEXT or MTEXT command for notes, labels, and instructions.
This ensures that your drawing communicates technical details effectively.
Step 5: Apply Hatching and Section Views
- Use the HATCH command to apply patterns to cross-sections, helping to identify materials or cut areas.
- Section views can be created to show internal features of objects, especially in mechanical drawings.
This makes the drawing more informative and professional.
Step 6: Insert Title Block and Border
Every engineering drawing needs a title block that includes information such as:
- Project name
- Designer’s name
- Date
- Scale
- Revision number
AutoCAD allows you to create custom title blocks or use pre-defined templates.
Step 7: Final Checks and Plotting
- Verify layers, scales, and dimensions.
- Use the AUDIT and PURGE commands to clean up unused items.
- Plot or print your drawing using the PLOT command, ensuring that line weights and scales are correct.
Your engineering drawing is now ready for professional use.
Tips for Beginners in AutoCAD Engineering Drawings
- Practice with simple projects like bolts, floor plans, or brackets before moving to complex designs.
- Use keyboard shortcuts to speed up your drafting process.
- Save versions of your file frequently to avoid losing progress.
- Refer to drafting standards (ISO, ANSI, or BIS) to make your drawings universally acceptable.
- Leverage AutoCAD tutorials and templates to learn industry-specific drawing techniques.
Why Use AutoCAD for Engineering Drawings?
- Accuracy: AutoCAD allows exact measurements, which is crucial in engineering.
- Efficiency: Reusable blocks, layers, and templates speed up drawing creation.
- Collaboration: DWG files can be shared easily across industries.
- 3D Capabilities: Beginners can start with 2D drawings and gradually move into 3D modeling.
Conclusion
Learning how to create engineering drawings in AutoCAD is a crucial step for anyone entering the engineering or design field. By following a structured process—setting units, creating layers, drafting geometry, adding dimensions, and finalizing with title blocks—you can produce professional-grade drawings. With practice and attention to detail, beginners can master AutoCAD and unlock opportunities in various technical industries.
Is AutoCAD difficult for beginners?
AutoCAD may seem overwhelming at first, but with consistent practice and step-by-step learning, beginners can create professional engineering drawings within weeks. At ASTCAD, we’ve helped countless Australian engineers and drafters master the fundamentals, and we find that most of our clients are confidently producing compliant drawings for Australian Standards within their first month. We recommend starting with basic 2D drafting tasks before moving to 3D modeling, and our team is always available to guide you through the learning process with practical, real-world examples specific to Australian construction and engineering requirements.
Do I need to know engineering concepts before using AutoCAD?
While basic engineering knowledge is helpful, you don’t need to be an expert to start with AutoCAD. At ASTCAD, we recommend familiarising yourself with Australian Standards like AS 1100 for technical drawing conventions, which will help you create compliant and professional drawings. AutoCAD is ultimately a tool for translating your ideas into precise drawings, so pairing it with fundamental understanding of drafting principles ensures your work meets industry requirements and communicates clearly with other professionals.
Can I use AutoCAD for both 2D and 3D drawings?
Yes. AutoCAD is versatile and supports both 2D drafting and 3D modeling, making it ideal for engineering applications.
How do I learn shortcuts in AutoCAD?
Start with commonly used commands like L (Line), C (Circle), TR (Trim), and CO (Copy) to build your foundation. We recommend practicing these daily until they become second nature, then gradually adding more advanced shortcuts. At ASTCAD, we’ve found that Australian engineers benefit from learning industry-specific shortcuts relevant to local standards and compliance requirements. Consistent practice and customizing your keyboard shortcuts to match your workflow will significantly boost your productivity in AutoCAD.
Which industries use engineering drawings in AutoCAD?
Engineering drawings in AutoCAD are essential across mechanical, civil, electrical, architectural, and manufacturing sectors. We at ASTCAD see Australian businesses in these industries rely on AutoCAD for precise technical documentation that meets local standards and compliance requirements. Whether you’re designing infrastructure for Australian construction projects or creating manufacturing specifications, our team helps ensure your drawings are accurate and industry-compliant from start to finish.